
Step 1: Download The Software And Open It
Click here to Download Look at the pictures for reference if needed.
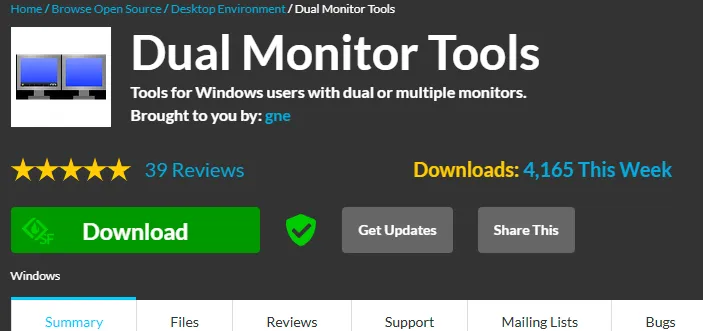
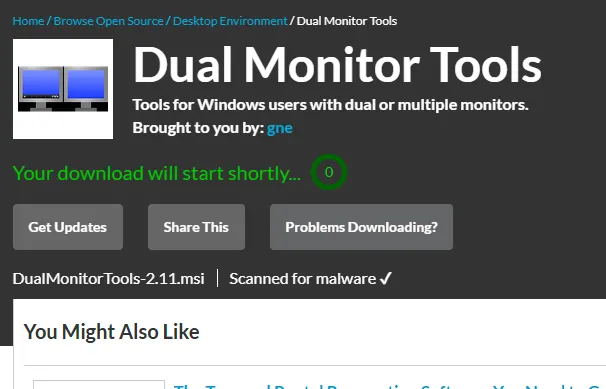
After you have clicked download you should see this window.
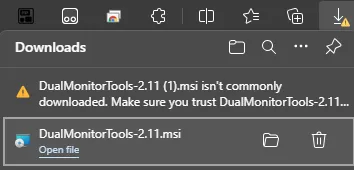
Look up in the corner your download should be listed If it has a Caution symbol click on the three dots and select keep anyway.

Step 2: Install With Default Settings
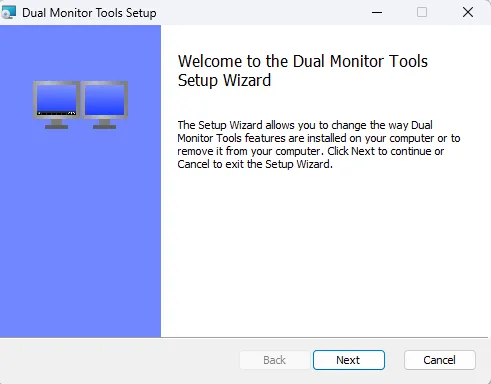
Open the download by clicking Open File and you will be presented with the installer.
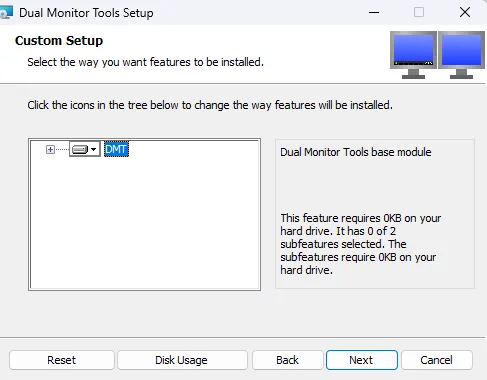
Click The next button and install with default settings
Click Next Again
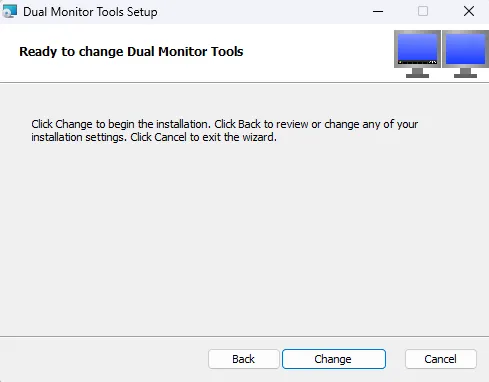
 Nevermind where this says CHANGE it should say FINISH for you
Step 3: Change Settings To Allow Hotkeys To Ativate And Deactivate Mouse Area
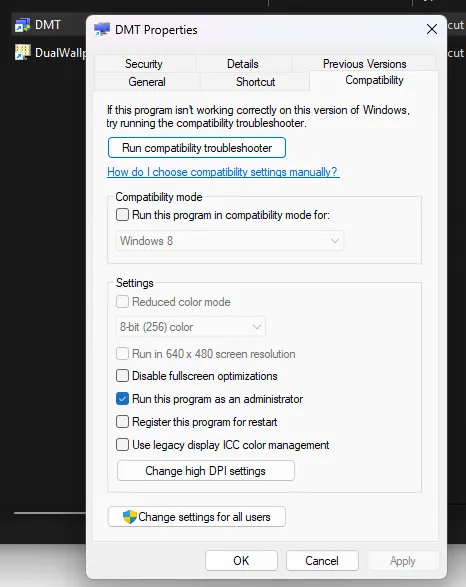
Press Your Windows Key or look on your desktop for the Blue DMT Icon right click on it and select properties, under the compatibility tab check the box that says run as administrator then APPLY and OK button.
Right Click on the DMT icon in the system tray where your clock is located and select OPTIONS.

In the OPTIONS window that pops up select the Sticky Settings.

Change CURSOR FREE TO MOVE BETWEEN SCREENS option to the provided settings.
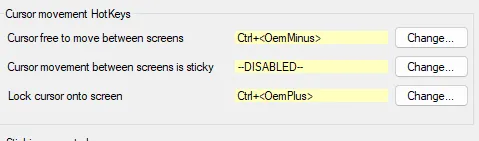
Congrats!!! you can now press CTRL + Minus to Unlock Your Mouse From main Display and CTRL + Plus to Lock It To Your Main Display.